Showing posts with label healthy. Show all posts

Tuesday, February 18, 2014

Tortilla Quinoa Salad with Cilantro Lime Dressing (Gluten Free) Very Simple

This is wonderful way to change up your regular salad routine and try something new! I have been using quinoa more in my recipes and adding it to my diet ever since my chiropractor Dr. Khristi mentioned it to me.{Thanks Dr. Khristi Kennedy Otto}. I'm so thankful for my chiropractic office, its not just a place to get an adjustment, but a place to talk about lifestyles changes, recipes, new health news.

 Quinoa is a known super food. It is a complete protein and is a great replacement for gluten free diets and those watching carbohydrate intake. I use it in my chicken soup instead of noodles and I use it for breakfast, I use it with curries and whatever else I can figure out.

I also want to mention that if you like avocados, and cilantro you will like this very much but if your not sure about avocados, leave them out but you can't leave out the cilantro. This salad is very refreshing and flavor packed!

 I recently picked up the book "The (Gluten Free) Quintessential Quinoa Cookbook" By Wendy Polisi. I REALLY like it and have already tried many recipes and plan to try a bunch more. I borrowed the book from the library but I will be buying this one to keep. The library is a great tool for renting books first to test them out and then only purchasing what was most useful.

Tortilla Quinoa Salad with Cilantro Lime Dressing {Gluten Free}

6 corn tortillas
3c Romaine Lettuce
2c Cooked Quinoa
1 1/2c Black Beans {about 1 can}
1c Cherry Tomatoes, quartered
1 medium red onion {I used white because I had it on hand}
1 Avocado, pitted, peeled, and diced


Cilantro Lime Dressing

1/4 c fresh lime juice
2tbsp maple syrup {or agave nectar}
1 tbsp balsamic vinegar
2 cloves garlic {or 2 tbsp minced garlic}
1/2c cilantro leaves, chopped
1/2c Olive Oil
1tsp REAL salt


Directions:

Bake corn tortillas for about 5-10 minutes in oven to make them a bit crisp, take out set aside

In a large bowl combine lettuce, quinoa, black beans, tomatoes, red onion{or white}, and avocado

Next make dressing by combining all of the ingredients, in her book it says to blend, but I think it would be good either way, blended or just mixed up, so you choose :)

Lastly add your dressing to your salad and add tortilla, you can crumble it up or leave it whole and scoop out salad on it.

Here is a link to the author of this recipes website her website:
http://www.cookingquinoa.net/

I really enjoyed reading her story about her journey with her own health. It really encouraged me. The slogan on her book says "Eat Great, Lose weight, and feel healthy", and I feel that way with her recipes.

~Honest Motherhood~

Friday, February 14, 2014

Yummy Pumpkin Pie {Gluten Free w/ Dairy free version}

 Pumpkin pie is a favorite dessert of mine. I could eat it all year round. BUT I wanted to make a healthier version, so all the sugar didn't cancel out the benefits of eating pumpkin. AND I also needed a gluten free version, which in my opinion whether your gluten intolerant or not its a healthier version for you.

Wheat is not healthier in my opinion anymore, through my research in fact switching from white to wheat doesn't really make a difference, especially if your buying commercially made breads. Most wheat is genetically modified, AND its basically nutritionally void. I know that eating "whole grains" or carbohydrates is part of a balanced diet based on the USDA recommendations, but the USDA also recommends GMO's, and they are NOT safe. Lets try to think outside the box, literally :). Lets view carbohydrates  in broader terms then bread. Vegetables have carbs :) Rice has carbs and is gluten free :) Potatoes  and sweet potatoes have carbs. Quinoa has carbs. Oatmeal has carbs.

ANYWAYS, I've cut out the wheat and trimmed the sugar way done without taking away from the taste :)

Yummy Pumpkin Pie {Gluten and Dairy Free}

Crust
1c unsweetened coconut flakes
1/2c  Gluten free oats {Oats are naturally gluten free but some are made in places with wheat, so check package :)}
3.5 TBSP Coconut oil
2 TBSP honey

Filling
1c pumpkin puree
1/2 c  unsweetened almond milk or other milk substitute
1 tsp REAL salt
1 tbsp honey
1 egg
2 tsp pumpkin pie spice

Homemade whipped Cream
8oz Heavy whipping cream
1/4-1/2cup stevia or syrup {or your choice of sweetener}
1 tsp Vanilla

 For a dairy free version:
How-to Make Whipped Coconut Milk Cream

Preheat oven to 350

 Okay to begin, lets make the crust. Measure out your oats and coconut flakes and add to a blender or nutribullet, use a low speed or your two blade cutter. You just want to make grind it up into a kind of flour but not make it creamy.

Once its has become like a flour, you can add your coconut oil and honey. Place in your baking dish and spread out like a crust.

Next is the filling, add pumpkin puree, almond milk, salt, honey, egg and pumpkin pie spice in your bowl and mix it up good. Then pour into your crust.

Bake @ 350 for about 20-25 minutes or until your filling in firm and crust is a bit browned.

You can eat it warm, if it is really crumbly put in the fridge for about 30 minutes so the crust can firm up a bit. i have made this twice so far and the first time the crust was fine, but the second time it was more crumbly, so i just put it in the fridge for a bit.

Lastly make your whipping cream. Use blender or beaters for this. Only add heavy whipping cream and whip or blend until it thickens up. then add other ingredients.

Your all done. Enjoy your almost guilt free pumpkin pie with homemade whip cream :)


Thursday, February 13, 2014

Delicious Spinach, Banana, and Orange Juice Smoothie {Get in your Veggies!]

Spinach is one of my favorite greens because it tastes really good and is easy to mix with other fruits and vegetables. I'm trying to up my intake of veggies and a smoothie is a great way to get more veggie!

Delicious Spinach, Banana, and Orange Juice Smoothie
1-2c Spinach {Add to your liking}
1 banana
1/4c orange juice, or a fresh orange
1/2c water
3-4 ice cubes

Add to blender, vitamix or in my case nutribullet and blend. Once you make this once you won't even need a recipe, you will just put in to your liking. I try to limit the amount of fruit and OJ, because I want to cut back on my sugar intake.

Smoothies is a great treat and a great replacement for sugar or carb cravings. Its a great energy boost, you can mix and match your favorites.

Tuesday, February 11, 2014

My Family Favorite Guacamole Recipe {Thanks to my mom}

My mom has been making guacamole for me since I can remember, it has always been a favorite past-time treat! I love avocado's so much sometimes I just eat them with a little salt. This recipe has come from my mother who always makes the best guacamole! Now if you don't like any of the ingredients just leave it out, and add what you like. My sister in law said she puts garlic in her guacamole, I do not, but maybe some of you would like it that way.

Make your own and tweak it to your liking, Avocado's have the good fat your body craves for! An avocado a day may keep the doctor away ;)

Family Favorite Guacamole Recipe

2-3 avocados
1 tbsp lemon juice {Use fresh lemons, lemon juice in a bottle usually has yucky preservatives}
half of an onion, diced small
1/2 c tomatoes {Use organic if possible, tomatoes are on the dirty dozen list, highly sprayed with pesticides}
cilantro, add to liking, I really like cilantro so I add 1/2 cup, chopped
salt and pepper to taste

Slice the avocados in half, cutting around the seed, pull apart and use spoon to spoon out. Put in dish and smash up a bit but don't over do it, some chunks are good, unless you have texture issues.

Add lemon juice, onion, tomatoes, cilantro, and salt and pepper to taste. Stir up and serve with Organic tortillas.

Enjoy!

{Most of the corn grown in the US is genetically modified, so its safer to go organic as its against organic standards to use GMO's, or find a Non-GMO food label on the bag.}

Guacamole is best eaten the same day but if you have leftovers, SAVE the avocado SEED and leave it in the bowl when you store in the fridge for leftovers. It will help keep some of the flavor and not go bad so fast.


Monday, February 10, 2014

Best Recipe for Tikki Masala! {Yummy FlavorFUL Indian Recipe}


One of my very favorite restaurants to go to is Sai Ram Indian Restaurant. When you walk in you can smell the wonderful aromas associated with Indian cooking. It has a very peaceful atmosphere and the food is just amazing! We have tried a couple different things there such as Masala, Tandoori Chicken, Eggplant Pakora, and a couple different desserts.

It is a family owned business and the family is so nice. They have amazing customer service and are very friendly. They are great at explaining what foods are and whats in them. My family and I always enjoy going there. We have went with all five of us and my husband and I have also went for date night.

Well, recently we had ordered some Masala to take out. It was just so yummy and creamy, I decided that I have to learn how to make this. So I spent about a half hour researching different peoples recipes, watching some you-tube videos, and put together what I thought was the best recipe to my family's liking. I decided to cut down on the hotness and make it a bit more mild and with a bit of sweetness.

Its also fun to try something new and learn to cook out of your comfort zone and even if no one else likes it, usually you'll like it because your time and effort went into making it!

Here is what I came up with:

I'm going to break this recipe up in two parts to try and make it a bit easier. I took more pictures then usual because its easier to learn by seeing it sometimes. The first part is what to do with your meat. I used chicken but you can probably use any kind of meat you want. Second part will be making your Masala or sauce :)

Also I have heard that Indian cooking is highly critiqued by those who know what they are doing, so if anyone reading this is a proficient I'm sorry if I bring any shame to this highly favorite dish ;)

For The Chicken
{If you have time let marinade overnight in fridge or for few hours before cooking to boost flavor, if your just making this on a whim like I did then you can skip it}
2lb Chicken {Antibiotic, hormone, arsenic feed free}
1c yogurt {I used rBST Hormone free, good source of protein}
1 tsp garlic {I used minced garlic, not dried}
1 tsp ginger {I used powder but want to try it fresh next time}
2 tbsp lemon juice {Without preservatives, use a fresh lemon or organic}
1 tbsp Coriander powder
1 tbsp Garam Masala {I found this at Woodmans}
1 tbsp cumin
dash of salt {Sea salt, or REAL Salt}

Okay so this list may look intimidating but I assure you once you have all your ingredients its easy!


1. First take your thawed or fresh chicken breast and cut into cubes, about medium size.
2. Then put them into a bowl big enough to mix all your ingredients
3. Next, your will add all of your ingredients from the list above, yogurt, garlic, ginger, lemon juice, coriander powder, garam masala, cumin, salt
4. Mix everything together really well
5. Either let marinade overnight, for few hours or skip this step if need be. {I highly recommend letting this marinate overnight}
6. Pour into a baking dish.
7. Bake @ 350 until chicken is done cooking, 15-20minutes.
8. When its finished cooking drain the excess watery stuff before adding to tomato cream sauce.

Yeah! First part is completed! Now onto making the yummy, creamy Masala. Make this while your chicken is cooking but don't forget to set a timer so you don't forget about your chicken. So throw your dirty dishes in the sink, clean your measuring spoons and clean your space and get all your ingredients ready :)


For the Masala
1 Onion, diced as good as you can
2 tsp garlic {I used minced in liquid, not dried}
2 tsp ginger
1 jalapeno pepper {OPTIONAL, I did not use, because that's to hot for hubby and kiddos}
28oz can of crushed tomatoes {For even smoother texture puree in blender, otherwise if textures not a problem, leave it}
1 pint of Heavy whipping cream {I used organic, free of pesticides and hormones}
1/2 cup cilantro, chopped well {If you know you don't like cilantro, don't use it}
2 tsp coriander powder
1/2 tsp chili powder
1 tsp turmeric {This is a great spice to help inflammation in the body}
1 tsp cumin
1 tsp garam masala
3 tsp sugar

I know! I know! BUT YOU CAN DO IT :)  You want to use a larger pan for this. The point of Indian food I'm gathering to to create the best flavor by cooing the spices precisely, so try to follow as best as you can :) Also if you haven't already you may want to throw on a pot of water for your rice.

1. First dice up the onion as good as you can, then add oil to your large pan {I used coconut oil, which is my favoritist!!}

2. Set heat to a bit over medium, wait for oil to get hot, then add onions. {they should sizzle immediately}
3. Add garlic, ginger {and pepper if your using it, I did not}
4. Saute until onions are very browned, you want to mix it around a bit to get the flavors going
5. Add can of crushed tomatoes, mix, let simmer for about 5-10 minutes, really let it cook, mixing as well


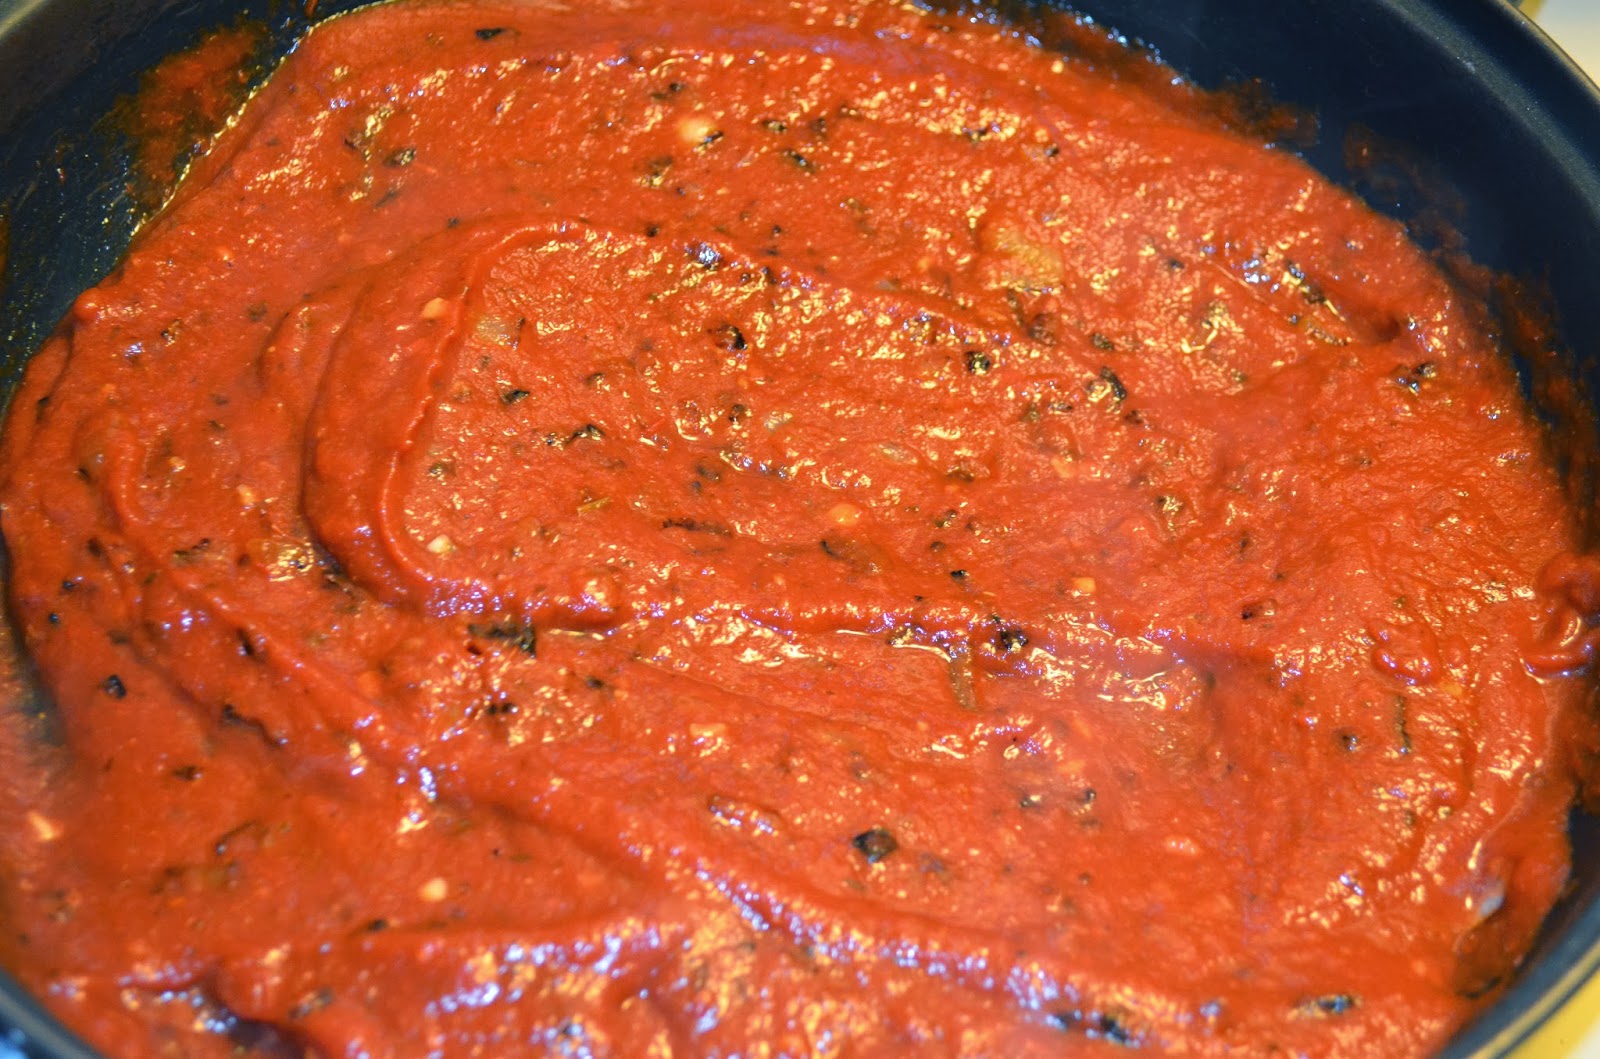
6. After letting the tomato sauce simmer, add all of it into a blender and blend. {You can skip this BUT this REALLY helps the flavors combined beautifully.


7. Pour tomato back in pan and add cream, stirring it in well {I like this part!!}


8. Add cilantro, coriander powder, chili powder, turmeric, cumin, and garam masala, mix up well
9.CHECK CHICKEN, if you haven't already :)
10. Let simmer, mixing once in awhile for about 10-15min, longer if you can. Allowing it to simmer and cook lets the ingredients blend well, and flavors deepen.


Once your masala sauce is all finished add your chicken to the sauce, I poured a little bit of the sauce from my chicken into the masala but don't add to much because you want your masala to stay creamy. So just mostly add the chicken pieces.


Lastly, if you didn't make rice, make it now, or pour over your made rice and serve. This makes a lot, so you will probably have leftovers. I used Basmati Rice that was grown on the Himalaya mountains in India. Isn't that cool, I thought so. I bought the bag from woodman's, my all time favorite store now. I also really like using Jasmine rice. These are those delicious sticky rices, also known to have less to no arsenic in them. Arsenic is a known carcinogen that causes cancer, most rice grown in US has arsenic, not exactly sure why though.

Everybody in my house really enjoyed it including my children. The first time we had it my youngest who is 2 years old ate a bit but then just wanted the rice alone.The second time he wanted more sauce and a second helping. Lol.

You have to help acquire your children's taste buds.

With kids you have to remember to give them something 3-5 times before they acquire the taste for it. Same goes for adults at times. Some foods our kids or we will never like, but try it or have your kids try something at least 3-5 times before deciding its a food they or you don't like. Change is hard most times :)

Grab My Button

Honest Motherhood

Popular Posts