One of my very favorite restaurants to go to is
Sai Ram Indian Restaurant. When you walk in you can smell the wonderful aromas associated with Indian cooking. It has a very peaceful atmosphere and the food is just amazing! We have tried a couple different things there such as Masala, Tandoori Chicken, Eggplant Pakora, and a couple different desserts.
It is a family owned business and the family is so nice. They have amazing customer service and are very friendly. They are great at explaining what foods are and whats in them. My family and I always enjoy going there. We have went with all five of us and my husband and I have also went for date night.
Well, recently we had ordered some Masala to take out. It was just so yummy and creamy, I decided that I have to learn how to make this. So I spent about a half hour researching different peoples recipes, watching some you-tube videos, and put together what I thought was the best recipe to my family's liking. I decided to cut down on the hotness and make it a bit more mild and with a bit of sweetness.
Its also fun to try something new and learn to cook out of your comfort zone and even if no one else likes it, usually you'll like it because your time and effort went into making it!
Here is what I came up with:
I'm going to break this recipe up in two parts to try and make it a bit easier. I took more pictures then usual because its easier to learn by seeing it sometimes. The first part is what to do with your meat. I used chicken but you can probably use any kind of meat you want. Second part will be making your Masala or sauce :)
Also I have heard that Indian cooking is highly critiqued by those who know what they are doing, so if anyone reading this is a proficient I'm sorry if I bring any shame to this highly favorite dish ;)
For The Chicken
{If you have time let marinade overnight in fridge or for few hours before cooking to boost flavor, if your just making this on a whim like I did then you can skip it}
2lb Chicken {Antibiotic, hormone, arsenic feed free}
1c yogurt {I used rBST Hormone free, good source of protein}
1 tsp garlic {I used minced garlic, not dried}
1 tsp ginger {I used powder but want to try it fresh next time}
2 tbsp lemon juice {Without preservatives, use a fresh lemon or organic}
1 tbsp Coriander powder
1 tbsp Garam Masala {I found this at Woodmans}
1 tbsp cumin
dash of salt {Sea salt, or
REAL Salt}
Okay so this list may look intimidating but I assure you once you have all your ingredients its easy!
1. First take your thawed or fresh chicken breast and cut into cubes, about medium size.
2. Then put them into a bowl big enough to mix all your ingredients
3. Next, your will add all of your ingredients from the list above, yogurt, garlic, ginger, lemon juice, coriander powder, garam masala, cumin, salt
4. Mix everything together really well
5. Either let marinade overnight, for few hours or skip this step if need be. {
I highly recommend letting this marinate overnight}
6. Pour into a baking dish.
7. Bake @ 350 until chicken is done cooking, 15-20minutes.
8. When its finished cooking drain the excess watery stuff before adding to tomato cream sauce.
Yeah! First part is completed! Now onto making the yummy, creamy Masala. Make this while your chicken is cooking but don't forget to set a timer so you don't forget about your chicken. So throw your dirty dishes in the sink, clean your measuring spoons and clean your space and get all your ingredients ready :)
For the Masala
1 Onion, diced as good as you can
2 tsp garlic {I used minced in liquid, not dried}
2 tsp ginger
1 jalapeno pepper {OPTIONAL, I did not use, because that's to hot for hubby and kiddos}
28oz can of crushed tomatoes {For even smoother texture puree in blender, otherwise if textures not a problem, leave it}
1 pint of Heavy whipping cream {I used organic, free of pesticides and hormones}
1/2 cup cilantro, chopped well {If you know you don't like cilantro, don't use it}
2 tsp coriander powder
1/2 tsp chili powder
1 tsp turmeric {This is a great spice to help inflammation in the body}
1 tsp cumin
1 tsp garam masala
3 tsp sugar
I know! I know! BUT YOU CAN DO IT :) You want to use a larger pan for this. The point of Indian food I'm gathering to to create the best flavor by cooing the spices precisely, so try to follow as best as you can :) Also if you haven't already you may want to throw on a pot of water for your rice.
1. First dice up the onion as good as you can, then add oil to your large pan {I used coconut oil, which is my favoritist!!}
2. Set heat to a bit over medium, wait for oil to get hot, then add onions. {they should sizzle immediately}
3. Add garlic, ginger {and pepper if your using it, I did not}
4. Saute until onions are very browned, you want to mix it around a bit to get the flavors going
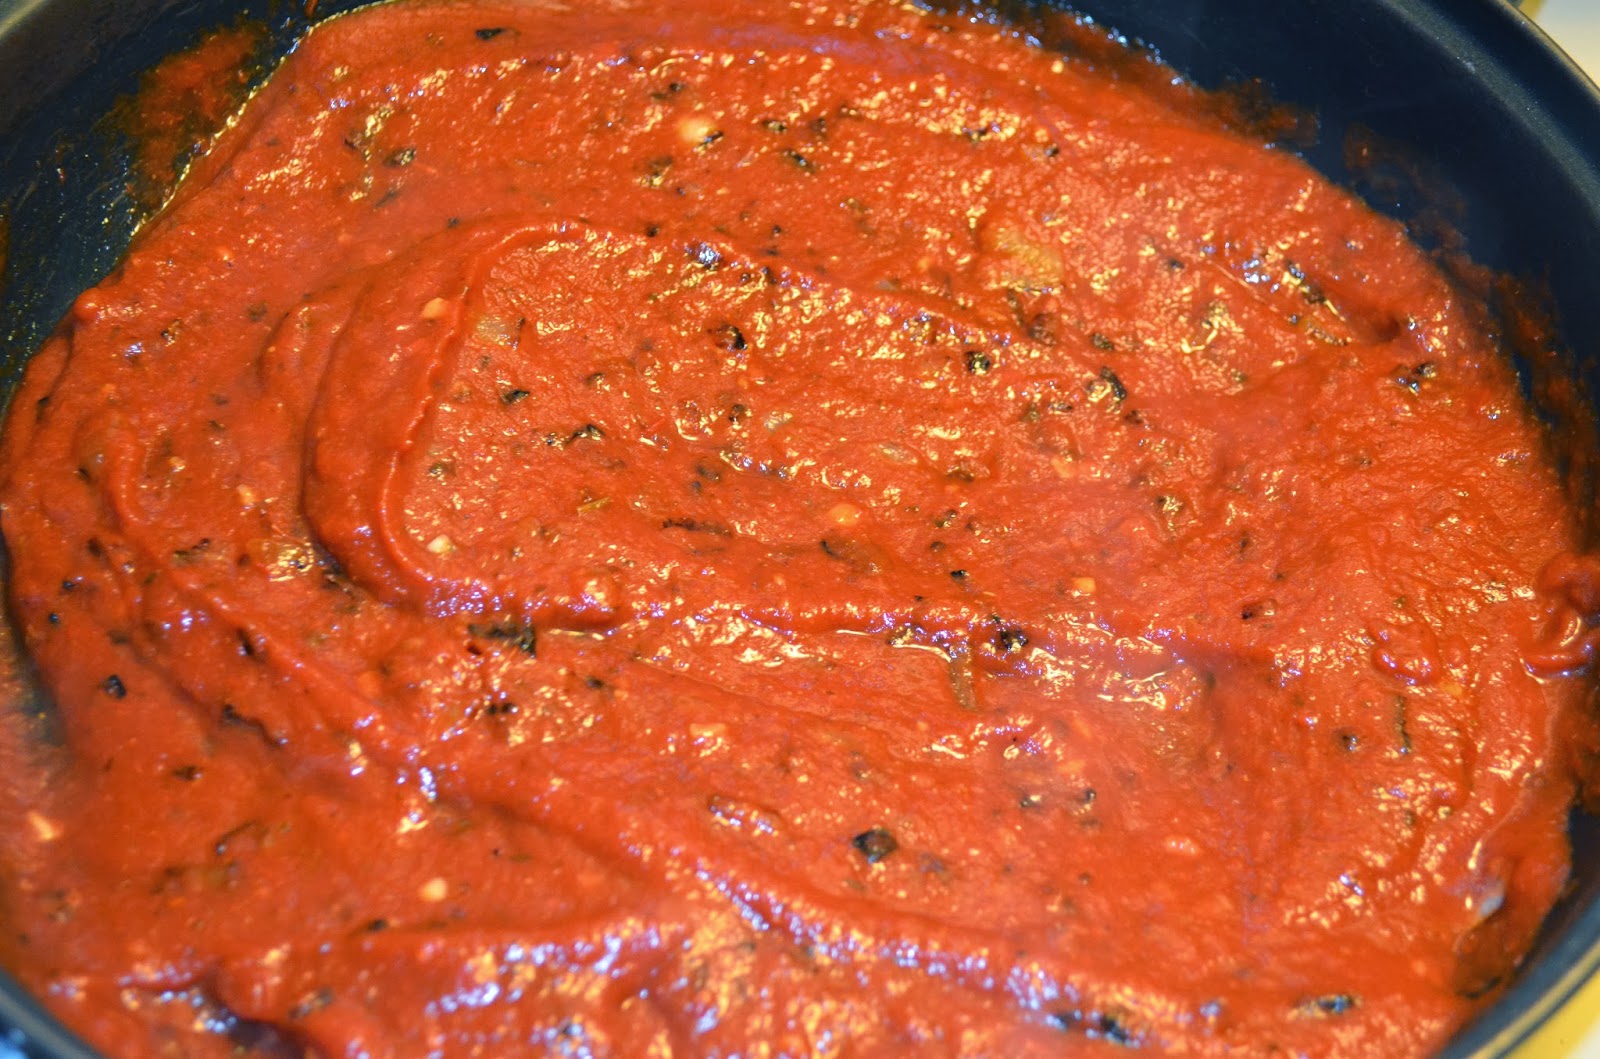
5. Add can of crushed tomatoes, mix, let simmer for about 5-10 minutes, really let it cook, mixing as well
6. After letting the tomato sauce simmer, add all of it into a blender and blend. {You can skip this BUT this REALLY helps the flavors combined beautifully.
7. Pour tomato back in pan and add cream, stirring it in well {I like this part!!}
8. Add cilantro, coriander powder, chili powder, turmeric, cumin, and garam masala, mix up well
9.CHECK CHICKEN, if you haven't already :)
10. Let simmer, mixing once in awhile for about 10-15min, longer if you can. Allowing it to simmer and cook lets the ingredients blend well, and flavors deepen.
Once your masala sauce is all finished add your chicken to the sauce, I poured a little bit of the sauce from my chicken into the masala but don't add to much because you want your masala to stay creamy. So just mostly add the chicken pieces.
Lastly, if you didn't make rice, make it now, or pour over your made rice and serve. This makes a lot, so you will probably have leftovers. I used Basmati Rice that was grown on the Himalaya mountains in India. Isn't that cool, I thought so. I bought the bag from woodman's, my all time favorite store now. I also really like using Jasmine rice. These are those delicious sticky rices, also known to have less to no arsenic in them. Arsenic is a known carcinogen that causes cancer, most rice grown in US has arsenic, not exactly sure why though.
Everybody in my house really enjoyed it including my children. The first time we had it my youngest who is 2 years old ate a bit but then just wanted the rice alone.The second time he wanted more sauce and a second helping. Lol.
You have to help acquire your children's taste buds.
With kids you have to remember to give them something 3-5 times before they acquire the taste for it. Same goes for adults at times. Some foods our kids or we will never like, but try it or have your kids try something at least 3-5 times before deciding its a food they or you don't like. Change is hard most times :)